Transvenous Pacemaker Placement
REASONS TO PACE IN THE FIRST PLACE
Hemodynamically unstable+
1. Sinus Bradycardia - seen in 17% of acute MI patients (especially inferior or anterior wall MI) [1,2]
2. AV Block - may be due to ischemia (15-19% of all Acute MI) [2,3]
3. Drug Overdose - with the goal of maintaining adequate hemodynamics while your medical therapy/dialysis has an opportunity to work.
WHEN TO TRANSVENOUSLY PACE
1. Transcutaneous pacing worked so well, the hemodynamically unstable patient is now mentating and screaming from the electrical shocks. It’s never ideal to have to place a patient on pressors to compensate for sedation.
2. Transcutaneous pacing did not achieve mechanical capture: The Lifepak is firing but on your bedside echo you don’t see the LV squeezing at the same rate.
3. Prophylaxis for expected clinical course: there is some literature that suggests placement of a TV pacer in a patient with a new onset LBBB or RBBB with left axis deviation due to acute MI, as up to 43% of them will develop high degree AV block. [4]

THE SETUP
Site selection: Preferred sites are right IJ and left subclavian. These have the most direct anatomical route for the catheter to pass and successfully land in the RV. The right IJ is generally the most preferred as it saves the left subclavian for a permanent pacer. The left IJ or right subclavian can also be used. However, these approaches require the catheter to go through a tortuous course and make an acute angle turn respectively, making these more difficult locations for blind insertion. The right IJ and left subclavian have been shown to be successful sites even during ongoing CPR. [6]

Catheters: The cordis is a 6 french catheter that comes with an dilator and guidewire. You will still need a triple lumen and accessory kit for all of the miscellaneous pieces (sutures, scalpel, needles, etc). There is a single side port (that can be used for medication administrator or blood draws) that should be flushed with saline. There are two black electrical wire tips on the pacer catheter. Unfortunately, these black tips don’t fit any pacer generators. Included in the kit are two red sterile adapters that simply get slid onto the black ones, now making these ends useful.

Pacer Generator Setup (to be done by your non-sterile friend)
Attach the generator to the pacer. This is a tricky step, and must be done before the pacer gets inserted into the patient. The pacer has two short sterile wires and the generator has one long non-sterile wire. These need to mate over a sterile field. [TIP: place an IV pole near one of the patient’s shoulders. From this, the non-sterile wire can be draped to hang over the sterile field without actually touching it.] The wires are attached by thumb-screws on the non-sterile hub. The non-sterile person holds the hub while the sterile person inserts the wires. The non-sterile person tightens the thumb screws. The proximal (shorter) wire inserts into the positive port (Proximal = Positive). The longer wire (distal) inserts into the negative port (Dear manufacturer, thanks for not labeling these with a “+” and “-”. That would make things too easy).
INSERTION
Inserting the Cordis: The dilator works just like a trauma catheter: they screw together and get inserted together over the guidewire. Once in place, the blue dilator is unscrewed and withdrawn, leaving the catheter. The hub on the cordis has a diaphragm built-in, so you don’t need to add a blue cap and blood won’t gush out at you.
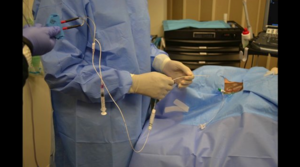
Inserting the pacer wire: Fig 1. Be sure to put the swan sheath on the pacer before inserting it into the cordis. You can leave it all scrunched up for now, but if you don’t put it on now, you won’t be able to later. At some point, you will need to clip the large white proximal hub of the sheath onto the cordis. You will extend the sheath to cover the full length of the pacer, allowing future sterile adjustments.
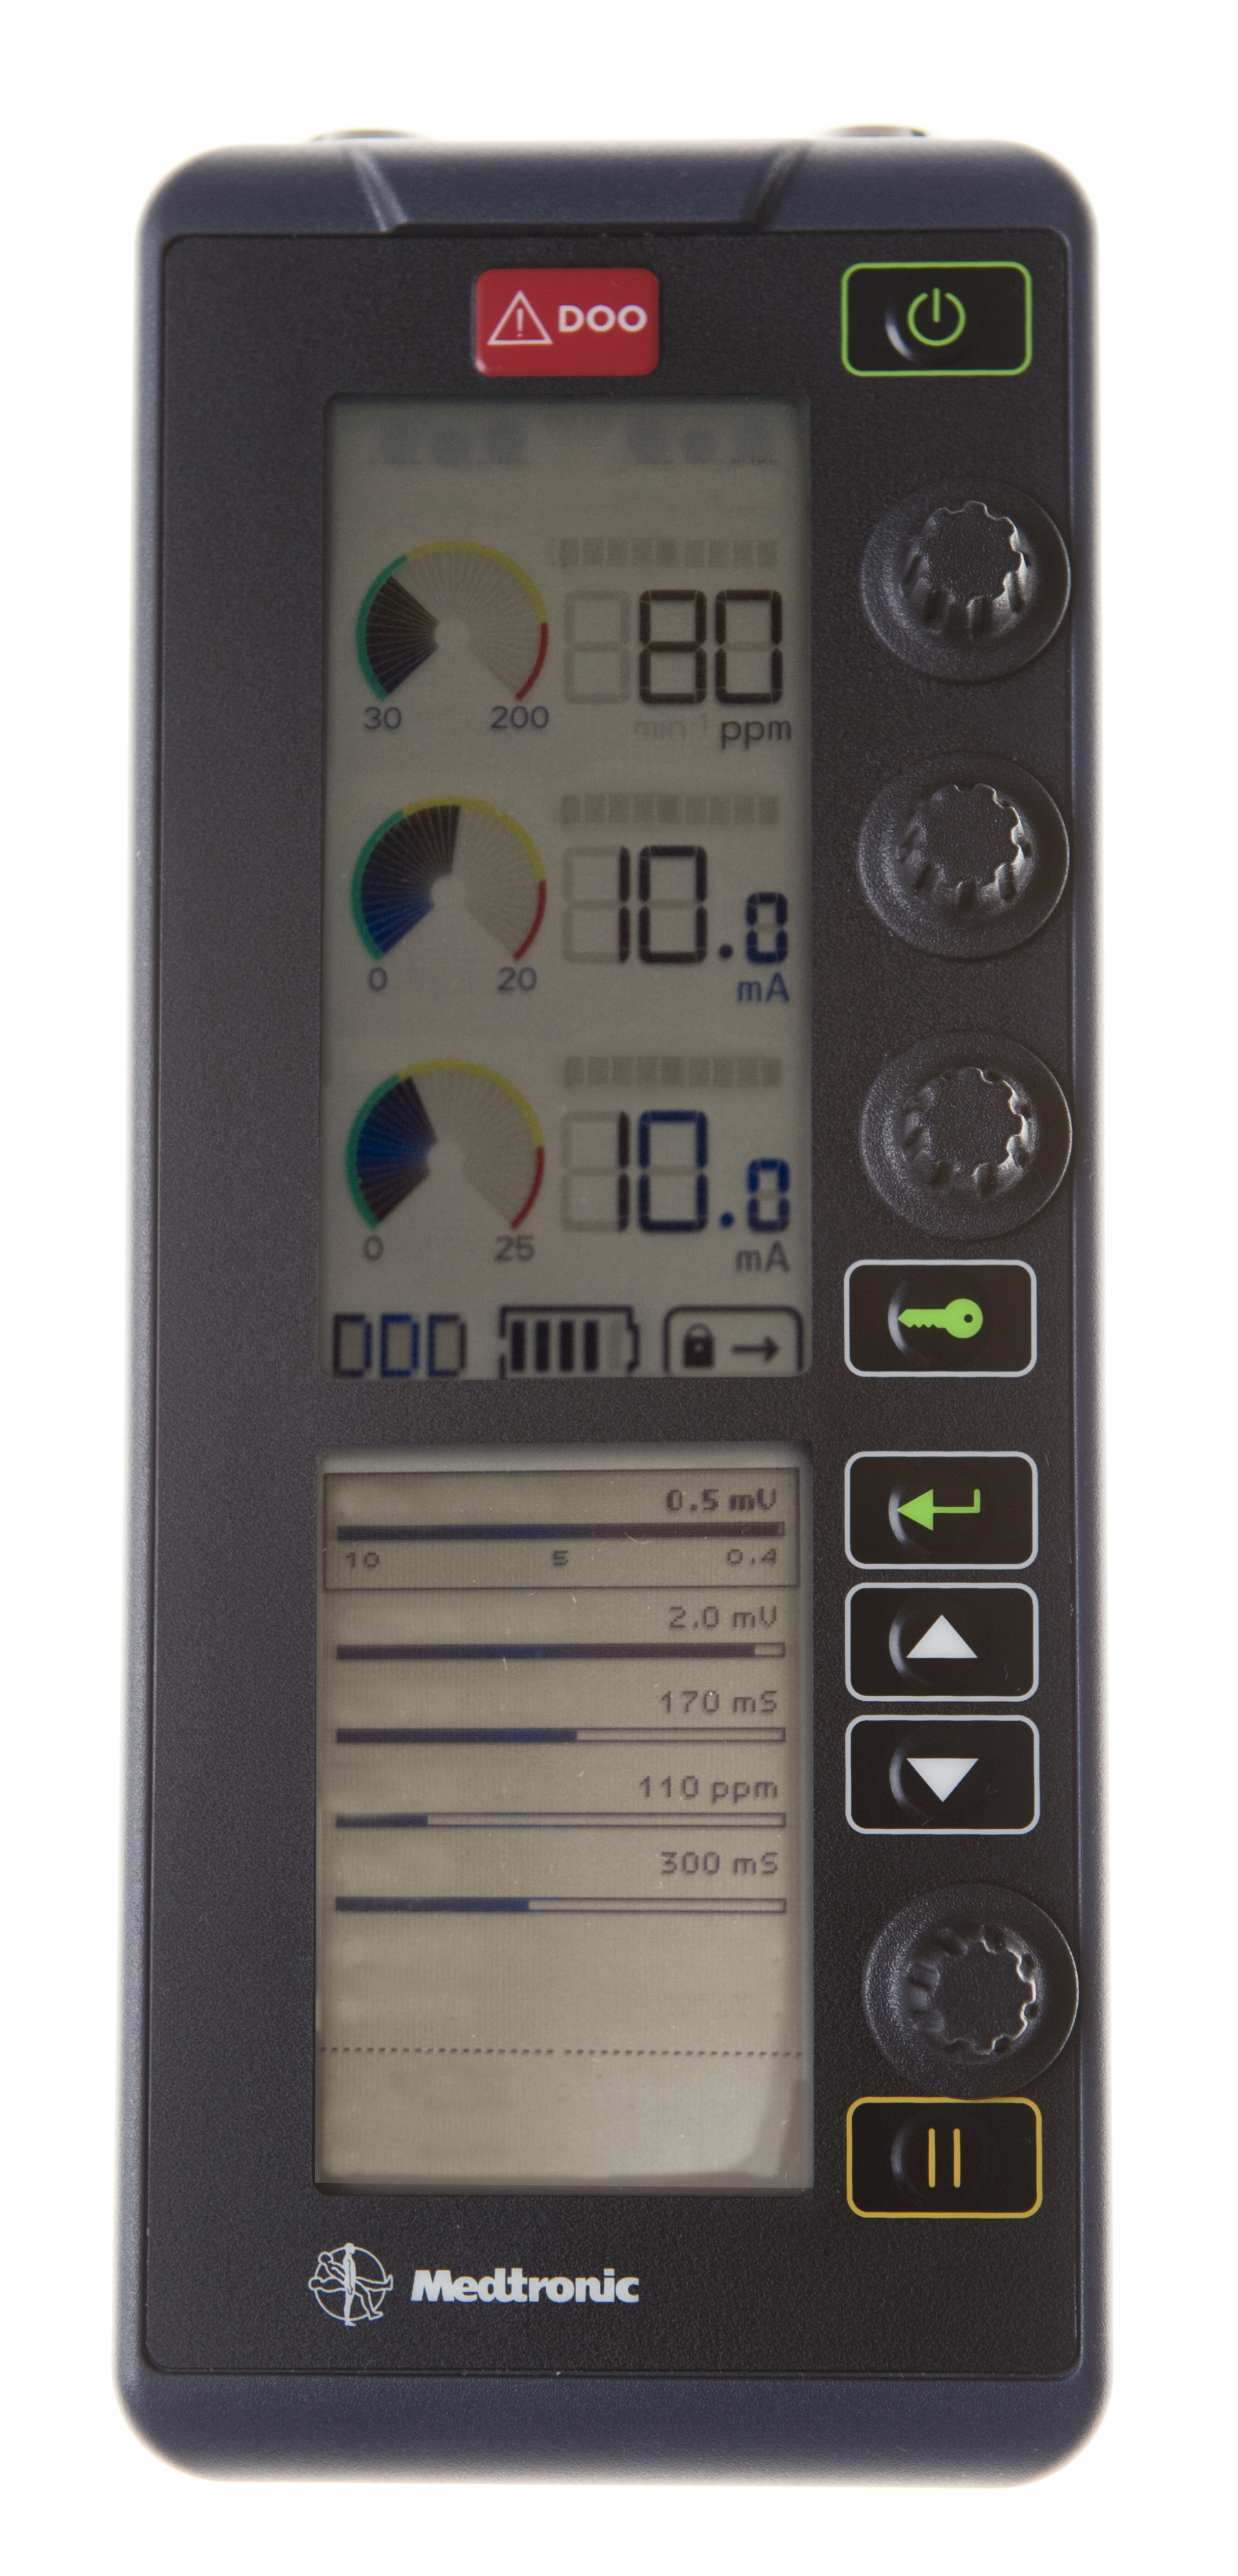
Figure 3 - New Generation Medtronic Pacer Now in the ED.
Push the tip of the pacer wire through the diaphragm into the cordis. Advance with impunity to 15cm. This puts the tip of the catheter within the central venous system with the balloon well clear of the end of the cordis. Inflate the balloon with 1.5cc of air and lock it in the inflated position. The balloon is designed to “float” the tip of the catheter into the heart as it moves with bloodflow.
Time to turn the pacer generator on (fig 2). Your initial settings are used to find the right catheter tip position. These will be adjusted later. Your initial settings should be: heart rate 80 (or well above the underlying rate so you can identify the paced rhythm), sensitivity all the way down (so the box will pace no macer what the intrinsic rhythm), and current up (20mA is a good starting place).
Of note, there is a newer generation pacer generator located in the ED now (see figure 3 right). When this generator is used the initial settings when the unit is first turned on are defaulted to DDD mode with a rate of 80 and an A and V output of 10 mA. On this unit, the Emergency Button changes the mode to DOO and delivers high frequency asynchronous pacing with a rate of 80 and an A output of 20 mA and V output of 25 mA.
Now slowly advance the pacer catheter (balloon still up). You should watch your catheter and the patient. Your non-sterile friend holding the generator box watches the cardiac monitor. Your friend is looking for evidence of capture, which should be seen as a satisfying jump in the heart rate. Once this is seen, stop advancing the catheter and deflate the balloon (optional: perform touchdown dance). The ideal location is to have the tip in the apex of the right ventricle (optional: this can be visualized by your non-sterile friend by placing a cardiac probe underneath your sterile drape for a subcostal view), but when doing the procedure blind we accept any location with adequate capture.
You can now start to tidy up. Deflate the balloon, but leave the syringe attached for any future adjustments. Be sure the swan sheath is fully extended and locked onto the cordishub. Suture the cordis hub in place and apply your sterile dressing. Note: there is no mechanism to lock the pacer catheter at the necessary depth. So, take a note of the depth and take every precaution to ensure the catheter doesn’t get accidentally pulled back. I suggest looping the catheter and placing a small piece of tape so that moving the wires around won’t translate to catheter dislodgment.
While you are tidying up, your non-sterile friend can start to tweak the generator settings:
Turn the current down slowly to the point where you lose capture. From the minimal current, increase it by 2.5x to ensure constant capture with the least necessary power.
Adjust the sensitivity setting. When the generator first starts it will have a very low pacing threshold (low mV). At this level of sensitivity, the pacemaker will pace regardless of the underlying rhythm. If the sensitivity is set to a high mV threshold, the generator may not pace at all because it won’t detect the underlying rhythm. If the sensitivity is just right, it will sense an underlying bradycardic rhythm and allow the intrinsic beats. It will then supplement this rhythm with paced beats to achieve the set heart rate.
The heart rate can be adjusted as needed. The goal is to achieve perfusion, so pick whatever rate necessary for your patient.
COMPLICATIONS
Misplacement: If capture cannot be achieved, the tip is likely not in the RV. Since this procedure is blind, a confirmatory chest xray is warranted for all placements.
Ventricular perforation: Watch for signs of pericardial tamponade.
Dysrhythmia: Electricity + ischemic heart can lead to bad dysrhythmias.
All the known risks with central catheter placement (pneumothorax, infection, thrombosis, etc)
Now Watch the Videos!
This is a "procedural slide set" designed to be a cognitively unloaded way to learn transvenous pacemaker insertion.
This is the procedure from the viewpoint of the operator
Authorship
Original Text by Mike Bohanske, MD
Videos created by J'Mir Cousar, MD and edited by Jeffery Hill, MD MEd
Last edited 7/9/2020 by Jeffery Hill, MD MEd
REFERENCES
Julian, DG, Valentine, DA, Miller, GG. Disturbances of rate, rhythm, and conduction, in acute myocardial infarction: A prospective study of 100 consecutive unselected patients with the aid of electrocardiographic monitoring. AM J Med 1965; 37:915.
ACC/AHA Guidelines for the Management of Patients with ST-Elevation Myocardial Infarction. 2004; 110:588-636.
Conklin, EF, Giannelli S, Nealon, TF. Four Hundred Consecutive Patients with permanent transvenous pacemakers. J Thoracic Cardiovascular Surg 1975; 69:1.
Atkins, JM, Leshin, SJ, Blumquist G, et al. Ventricular Conduction Blocks and Sudden Death in Acute Myocardial Infarction. N Engl J Med 1978; 288-281
Roberts, JR, Hedges, JR. Ch 15 Emergency Cardiac Pacing in Clinical Procedures in Emergency Medicine, 5th ed. Elsevier, Philadelphia, PA. 2010.
Syverud, SA, Dalsey, WC, Hedges, JR. Radiographic Assessment of Transvenous Pacemaker Placement during CPR. Ann Emerg Med. 1986; 15:131.

This Educational Resource has been Peer Reviewed and Published on MedEdPortal.org
Cousar J, Bohanske M, Hill J. Transvenous Cardiac Pacemaker Educational Resource. MedEdPORTAL Publications; 2015. Available from: https://www.mededportal.org/publication/0107 http://dx.doi.org/0.15766/ep_2374-8265.10107
See the Original Blog Posts


worked to create a video walkthrough of the procedure. The video walkthrough is divided into two separate videos. The first, embedded below is a narrated procedural slide set, designed to be a cognitively unloaded approach to learning the procedure. In a later post we'll see a full, start to finish video of the procedure filmed from the first person viewpoint.
In addition to the video being posted here, Dr. Cousar has constructed a checklist that will be placed on the pacemaker generator which will have a QR code to link to this narrated slide set.